
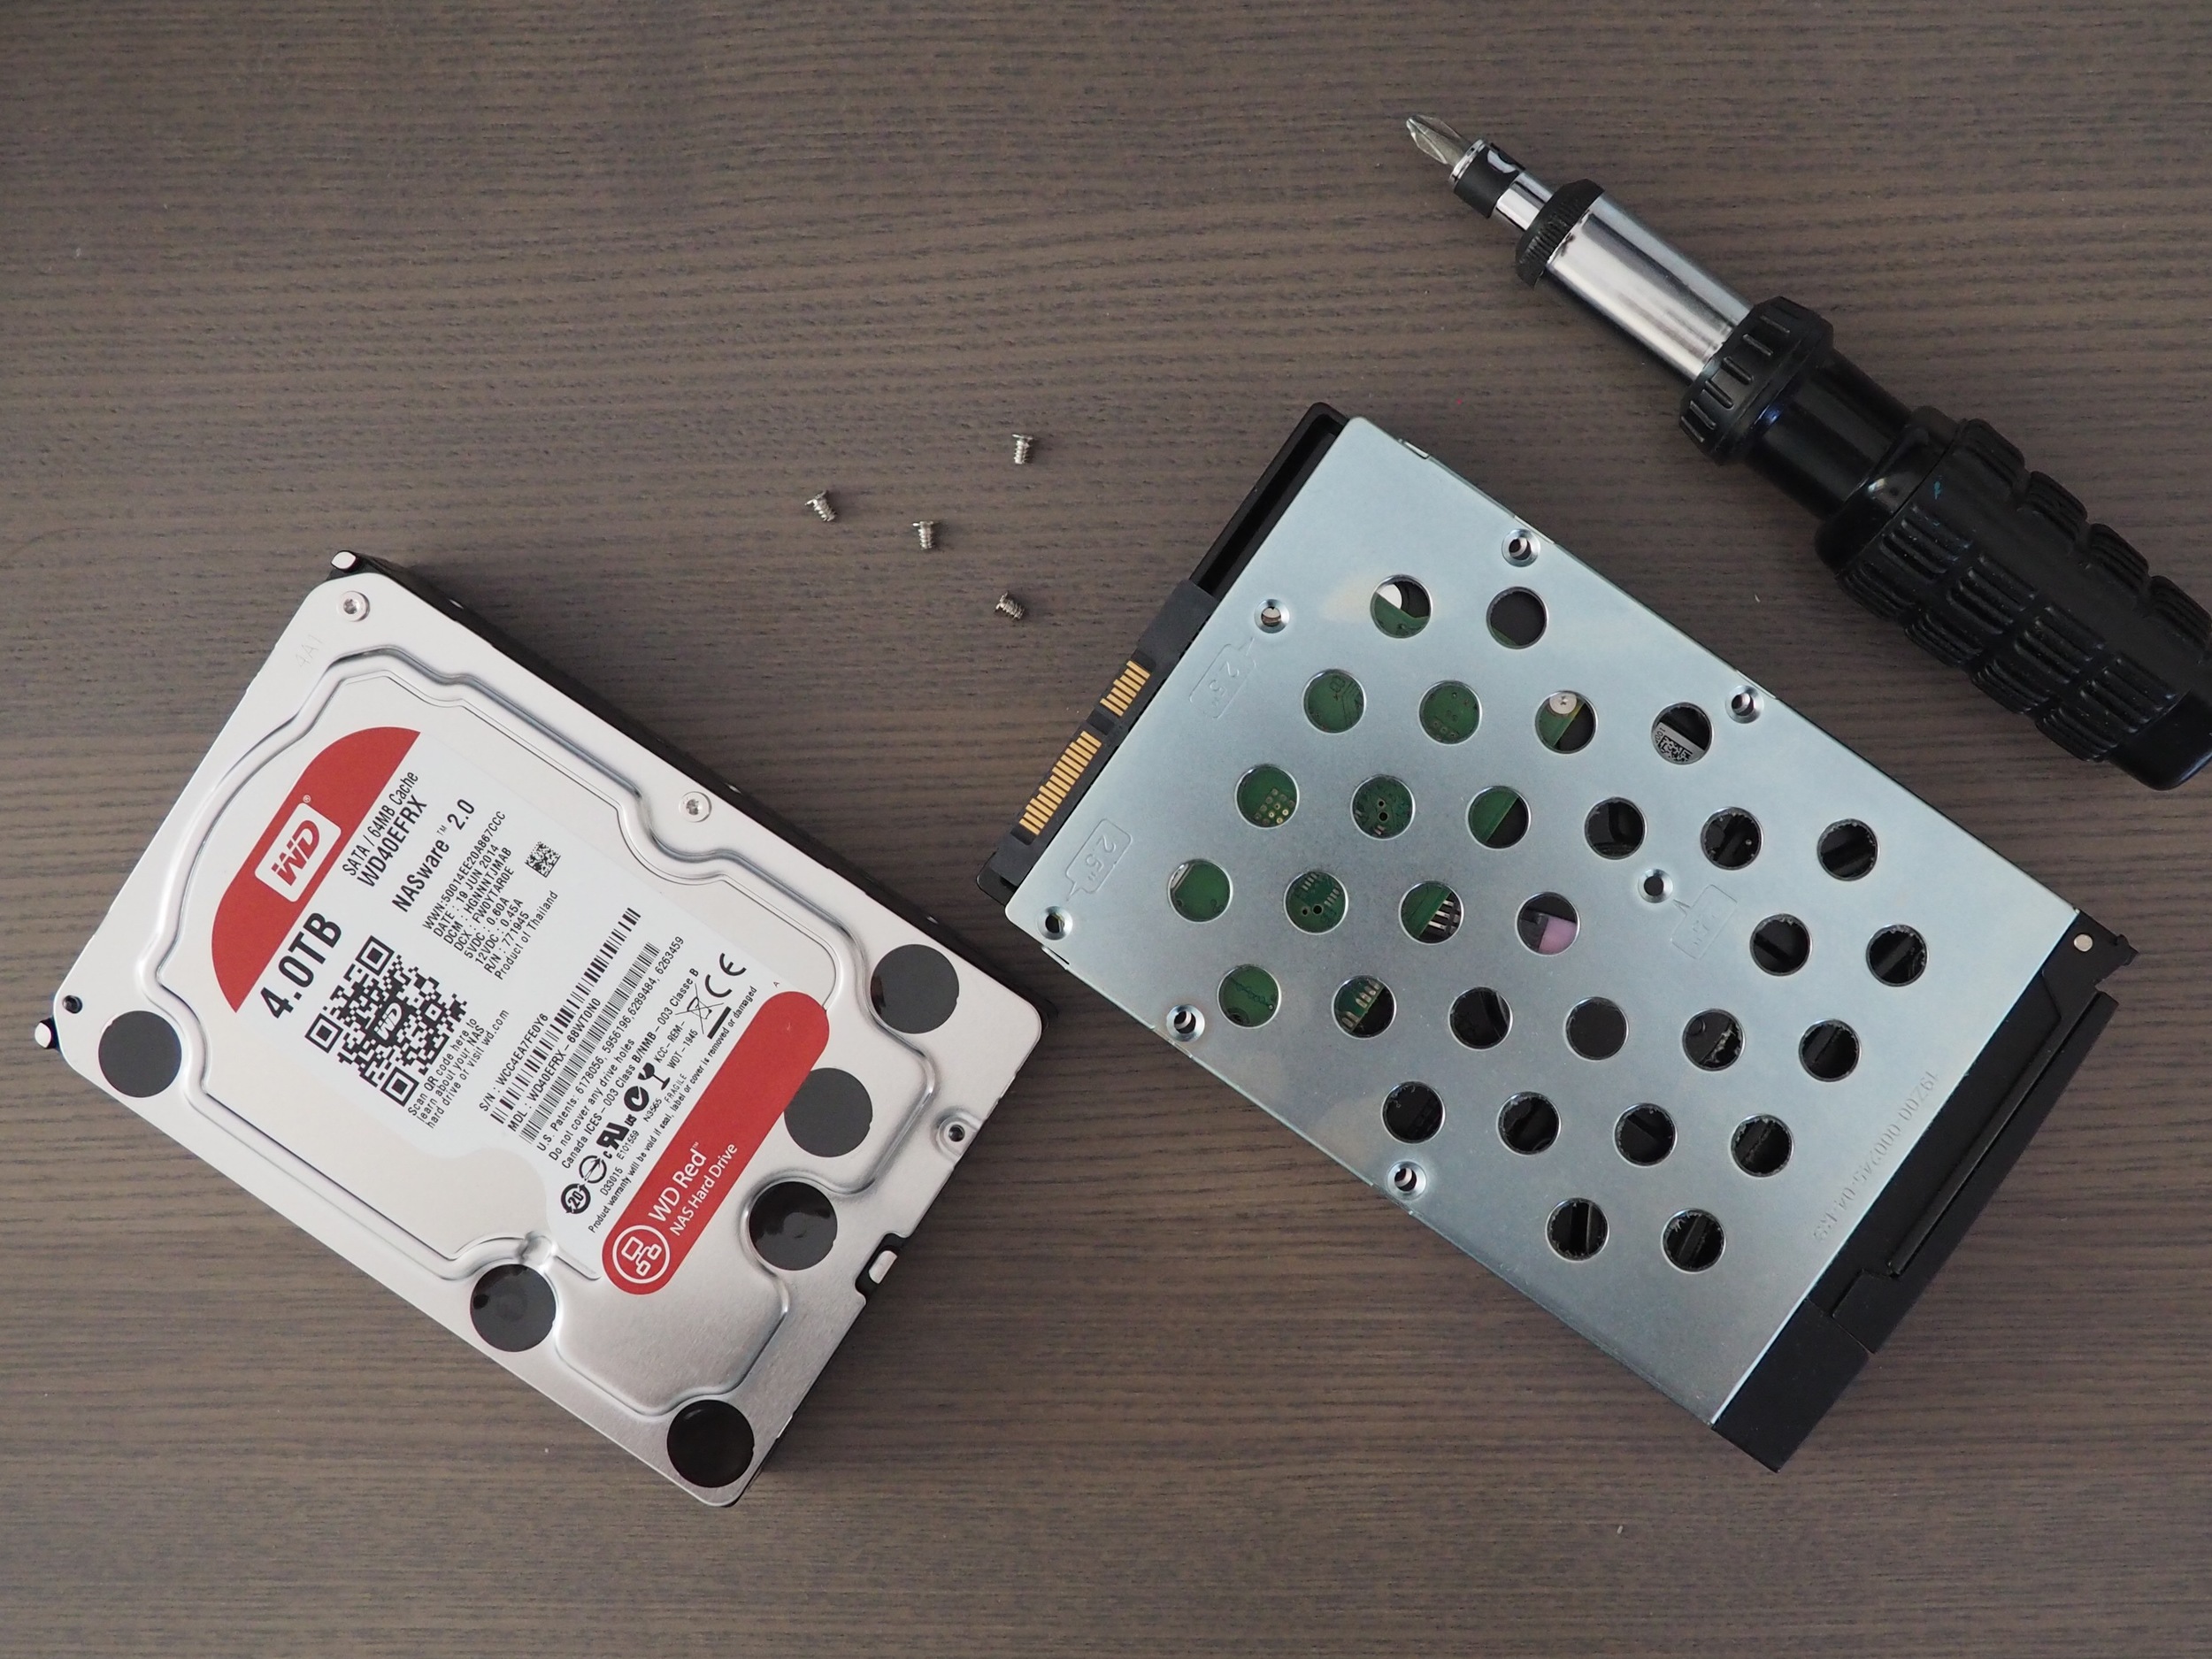
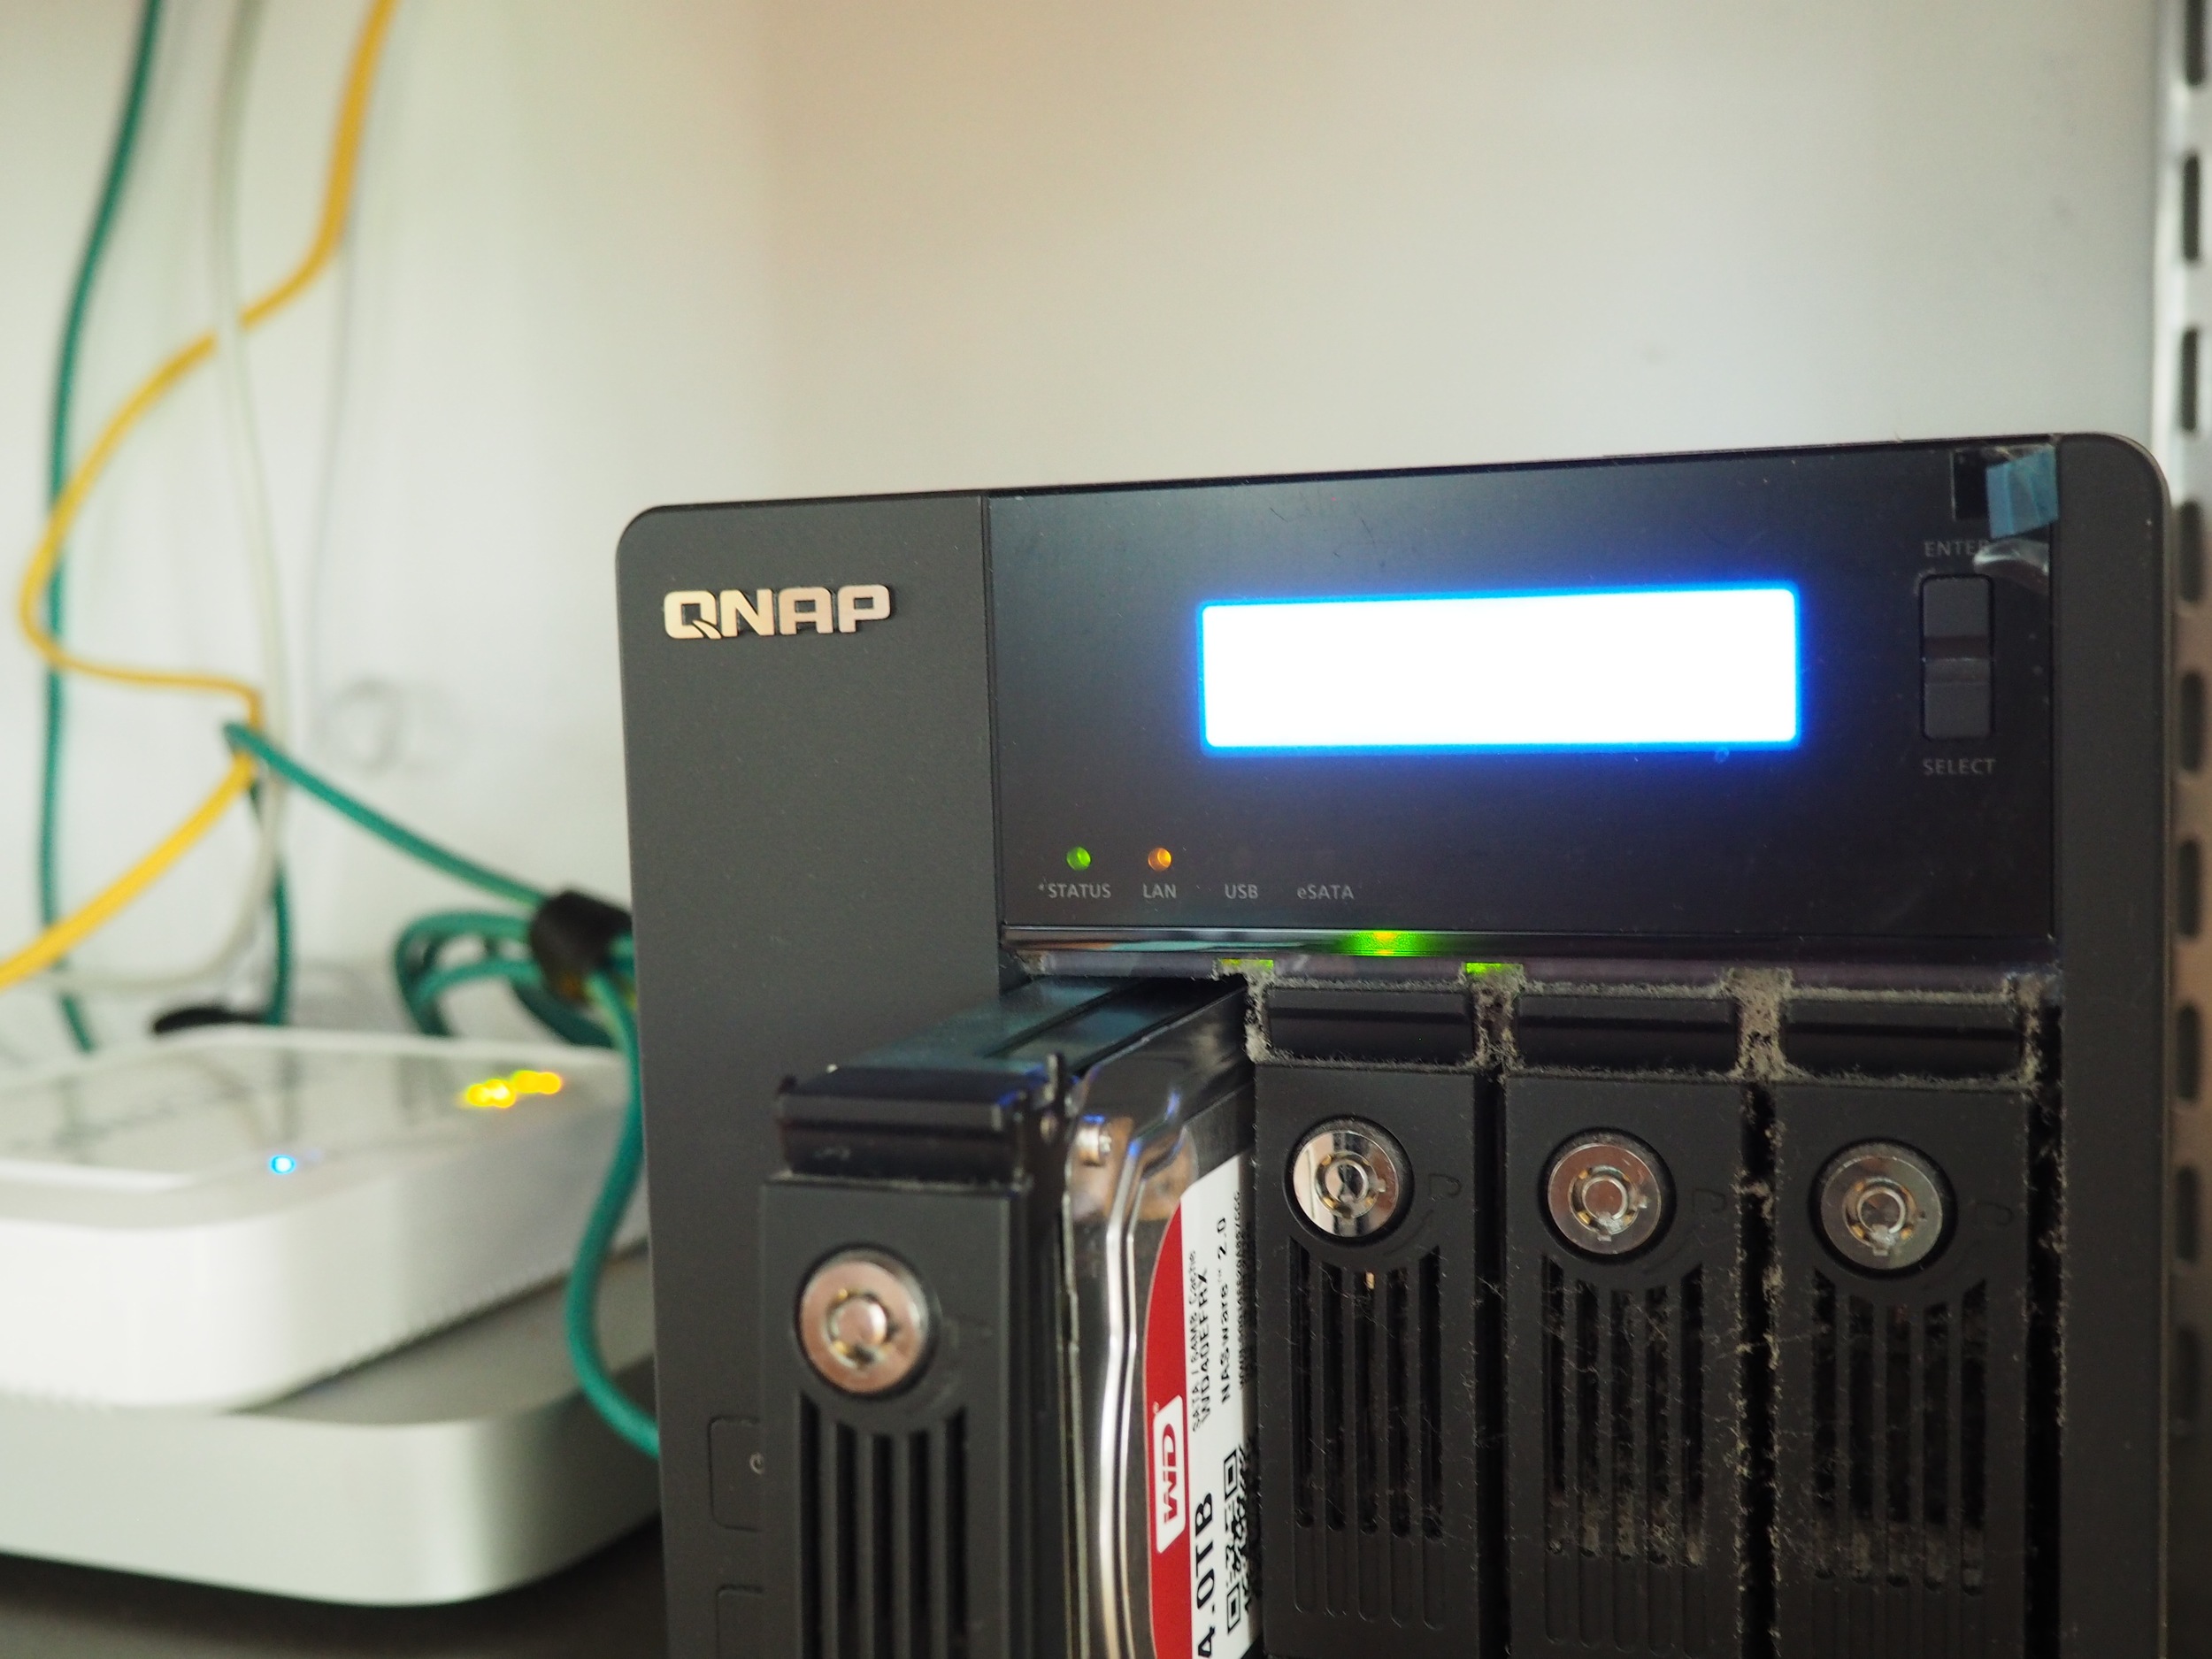
I have been storing my important digital files on a RAID box for many years. I have a QNAP TS459 Pro+ that has one pair of 2T seagate drive in them. The 2T storage is almost full. This is a screencast on how I replaced the pair with a pair of WD Red drives, rated for NAS use. (WD40EFRX)
Conceptually the process is simple
The current setup is RAID 1, mirrored. That means each hard drive (HDD) has a complete copy of all the files. Simple pull old drive 1 out and replace it with a new one. The RAID system will copy the files onto the new drive. Then do the same for the second drive. But the actual operations is a little more complicated.
Actual Process
- Tell QNAP that we are to replace the hard drives, one by one:
- Under "raid management" , click the "Action" button and start the "Expand Capacity" action
- QNAP will display "You can replace this drive" for all the HDDs in the array. This does *not* mean you should pull the drive just yet:
- Select HDD 1, click "Change" to tell QNAP to stop using this drive.
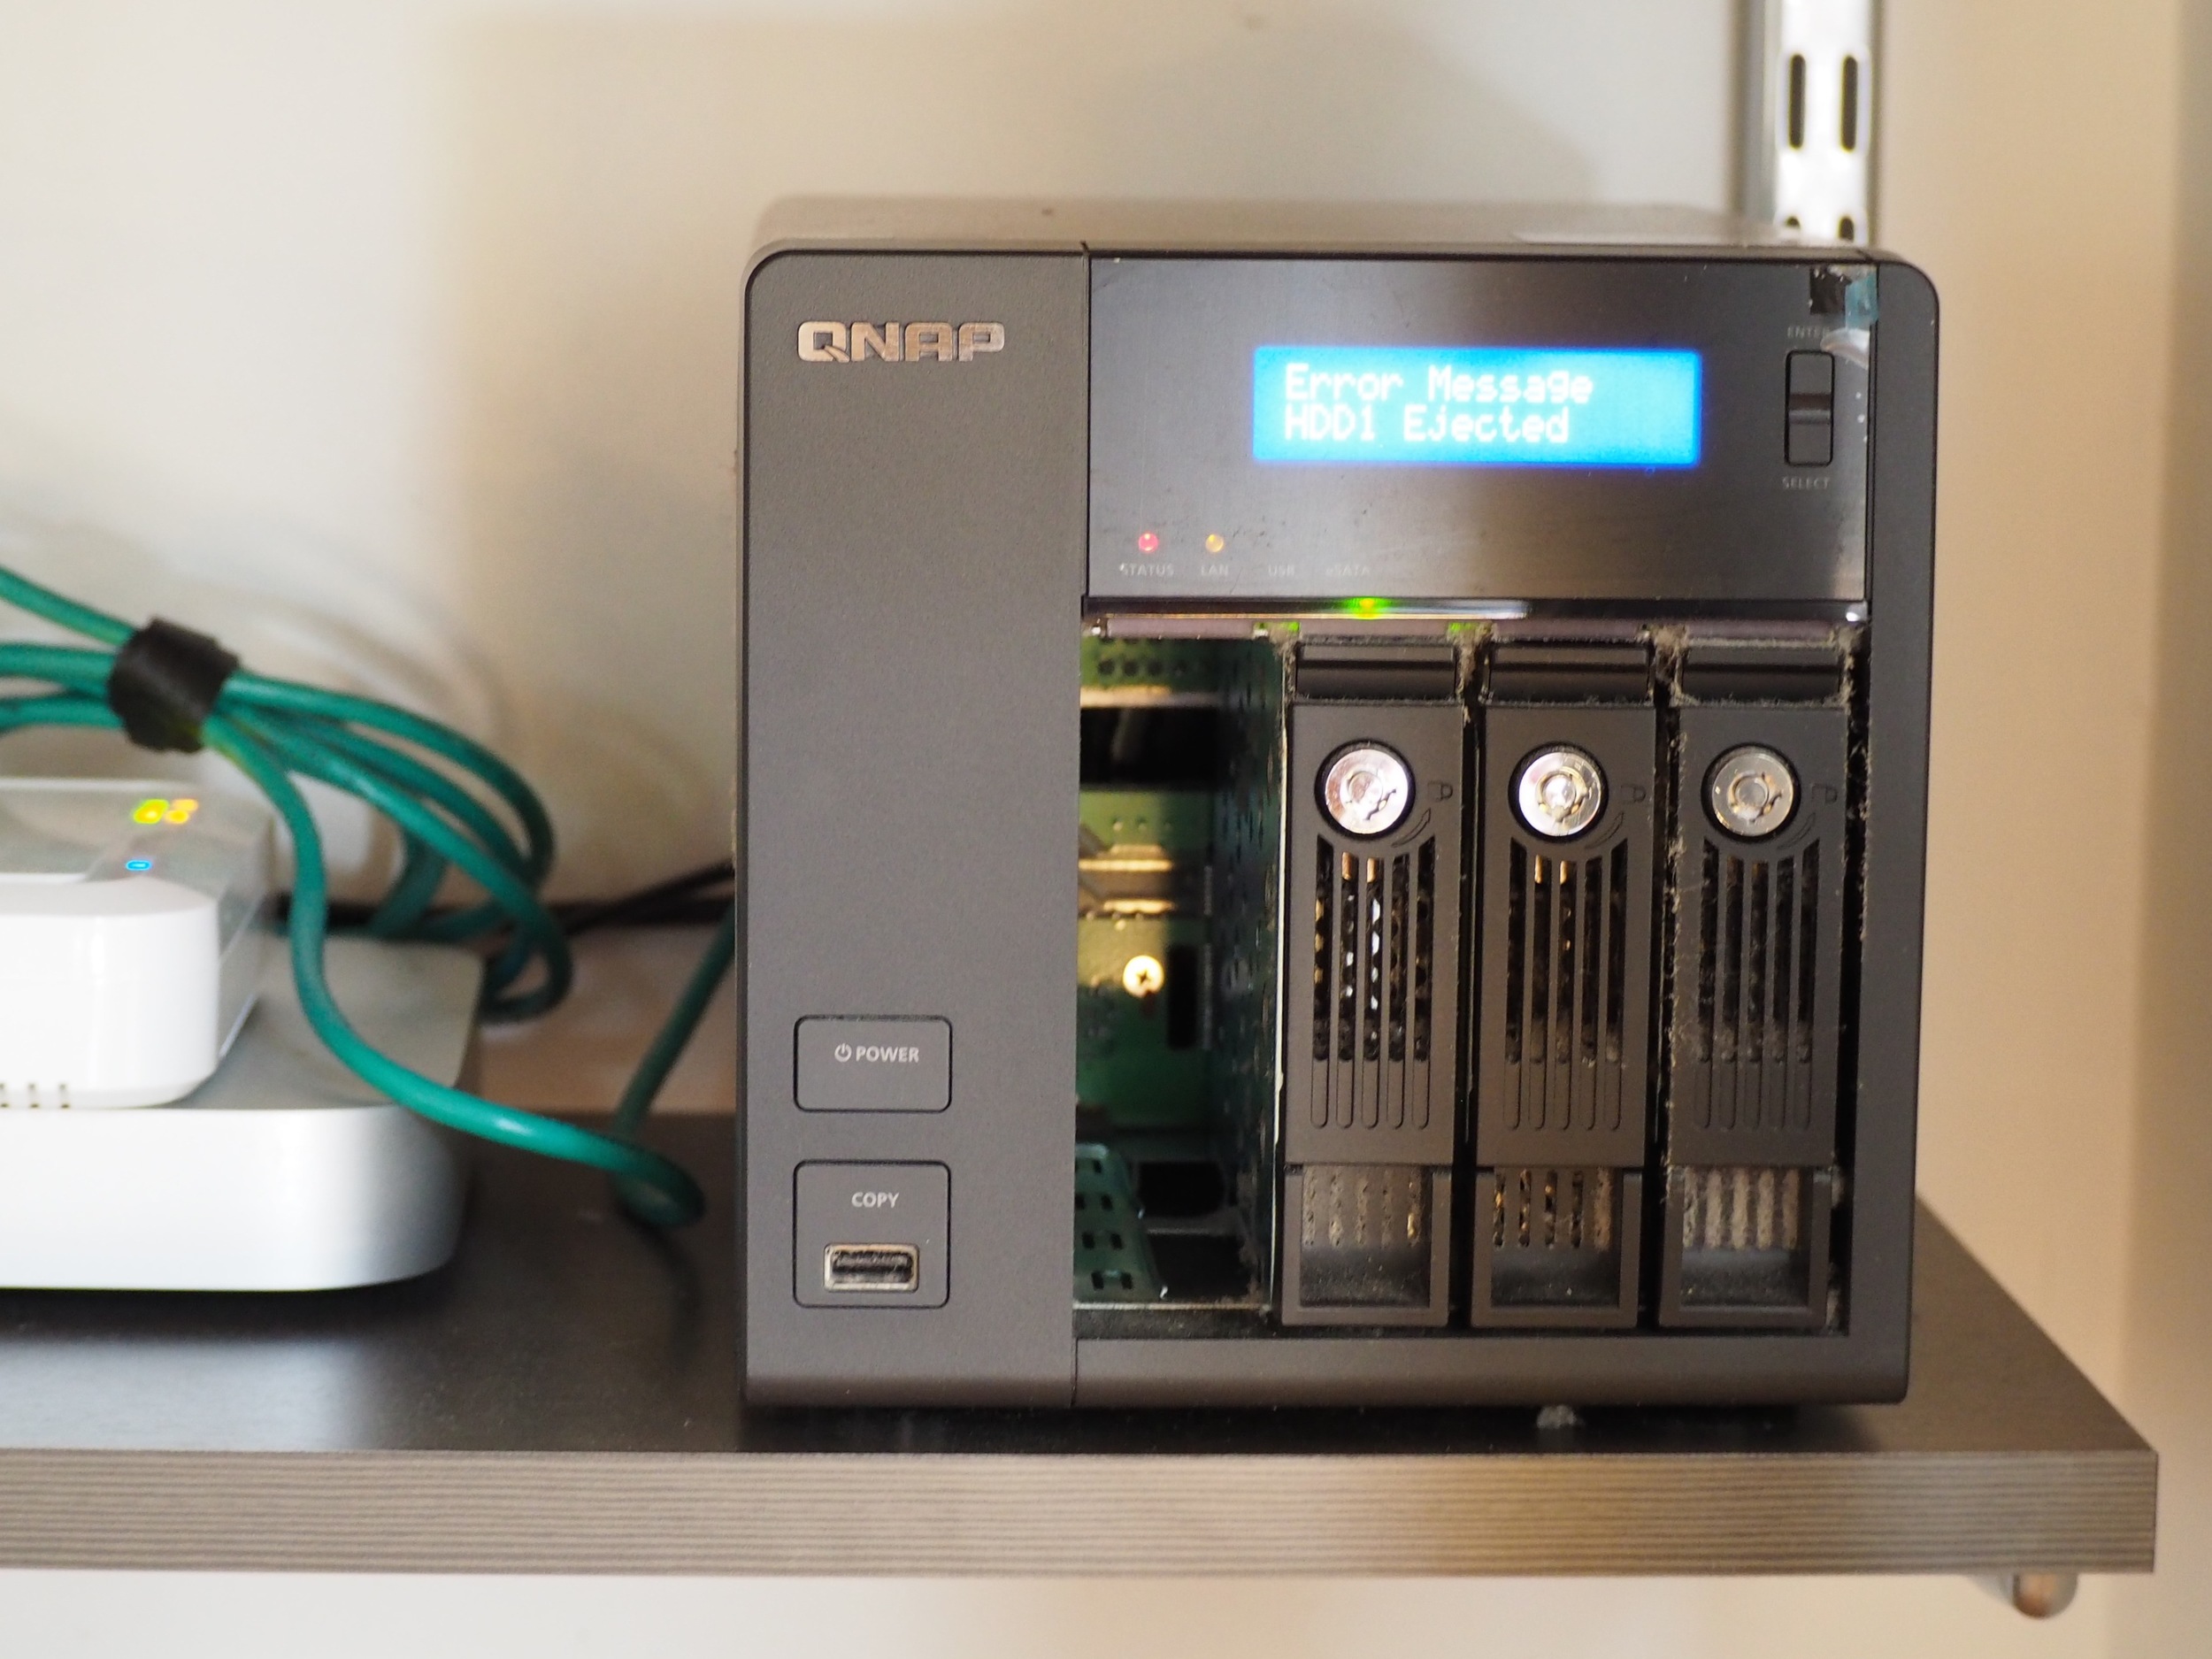
- When QNAP displays "Please remove this drive", pull the drive out of the system and wait for QNAP to beep twice. (While you are waiting you can unscrew and replace the actual hard drive in the drive holder, ready for re-insertion).
- When QNAP displays "Please insert the new drive", plug the new drive into the slot.
- Be patience and wait (over 1 minute sometimes) for QNAP to beep and start rebuilding. Rebuilding will take hours.
- When QNAP display "ready" under status, the drives are back in RAID mode.
- Now repeat the same process for hard drive 2.
- Under "raid management" , click the "Action" button and start the "Expand Capacity" action
- QNAP will display "You can replace this drive" for all the HDDs in the array. This does *not* mean you should pull the drive just yet:
- Select HDD 2, click "Change" to tell QNAP to stop using this drive.
- When QNAP displays "Please remove this drive", pull the drive out of the system and wait for QNAP to beep twice. (While you are waiting you can unscrew and replace the actual hard drive in the drive holder, ready for re-insertion).
- When QNAP displays "Please insert the new drive", plug the new drive into the slot.
- Be patience and wait (over 1 minute sometimes) for QNAP to beep and start rebuilding. Rebuilding will take hours.
- When QNAP display "ready" under status, the drives are back in RAID mode.
- At this point, we have two new drives in the QNAP. But only the original capacity is being used. You need to tell QNAP to start using all the capacity.
- Under "raid management" , click the "Action" button and start the "Expand Capacity" action
- There is another "Expand Capacity" button now shown on the bottom of the screen. Click that.
- The QNAP will start the expansion process, which again takes a long time.
- Once that is done, you now have a RAID setup that make full use of the larger pair of hard drive.
Screencast
This is a screencast showing the entire operations over two days, compressed:
Conclusion
I am happy that I did the drive replacement. I now have twice the storage, and also a pair of higher quality drives in my QNAP. The QNAP forum was a great source of information. I have received a lot of help when I ran into problems.
There are also two issues that makes this process more difficult than it should:
- You need to wait a long time for the QNAP to recognize you have inserted a new drive. The first time I tried this I didn't wait long enough, thought something was wrong, and pulled the disk out again. I ended up having to rebuild the original drive (meaning wait another 12+ hours) and start over.
- You cannot/should not pull the drive out until you click "change". When QNAP display the message "you can replace this drive" - it means you can replace this drive if you click "here/change". i.e. do not forget to click "change" before pulling the drive out.

