DIY

Raspberry Pi gets a Real Sound Card from Wolfson and Element14

I have been a big fan of the Raspberry Pi. It brings easy, affordable, high level computing tinkering to the masses. It is great for makers, educators and tinkerers. Today it gets a new sound card with lots of features from Element14. From their website:

Features

  • 3.5 mm jack (4-pole) for a headset/boom mic combination for gaming or VoIP applications
  • 3.5 mm jack for microphone input
  • On-board MEMS microphone
  • 3.5 mm jack stereo line input for connection to devices such as digital audio players (iPod etc.) or mobile phones
  • 3.5 mm jack stereo line output for connection to devices such as external stereo amplifiers or powered speakers
  • S/PDIF input and output
  • On-board class D power amplifier for external speakers, with connection to external power source if needed.
  • Small pin header for extra functions if they are low cost, already on-chip, and don't require any further components
  • Raspberry Pi form factor

Note very important note is that this Wolfson Audio Card is only compatible with Raspberry Pis which feature the P5 pads, which can be found on Revision 2 Raspberry Pis onwards.


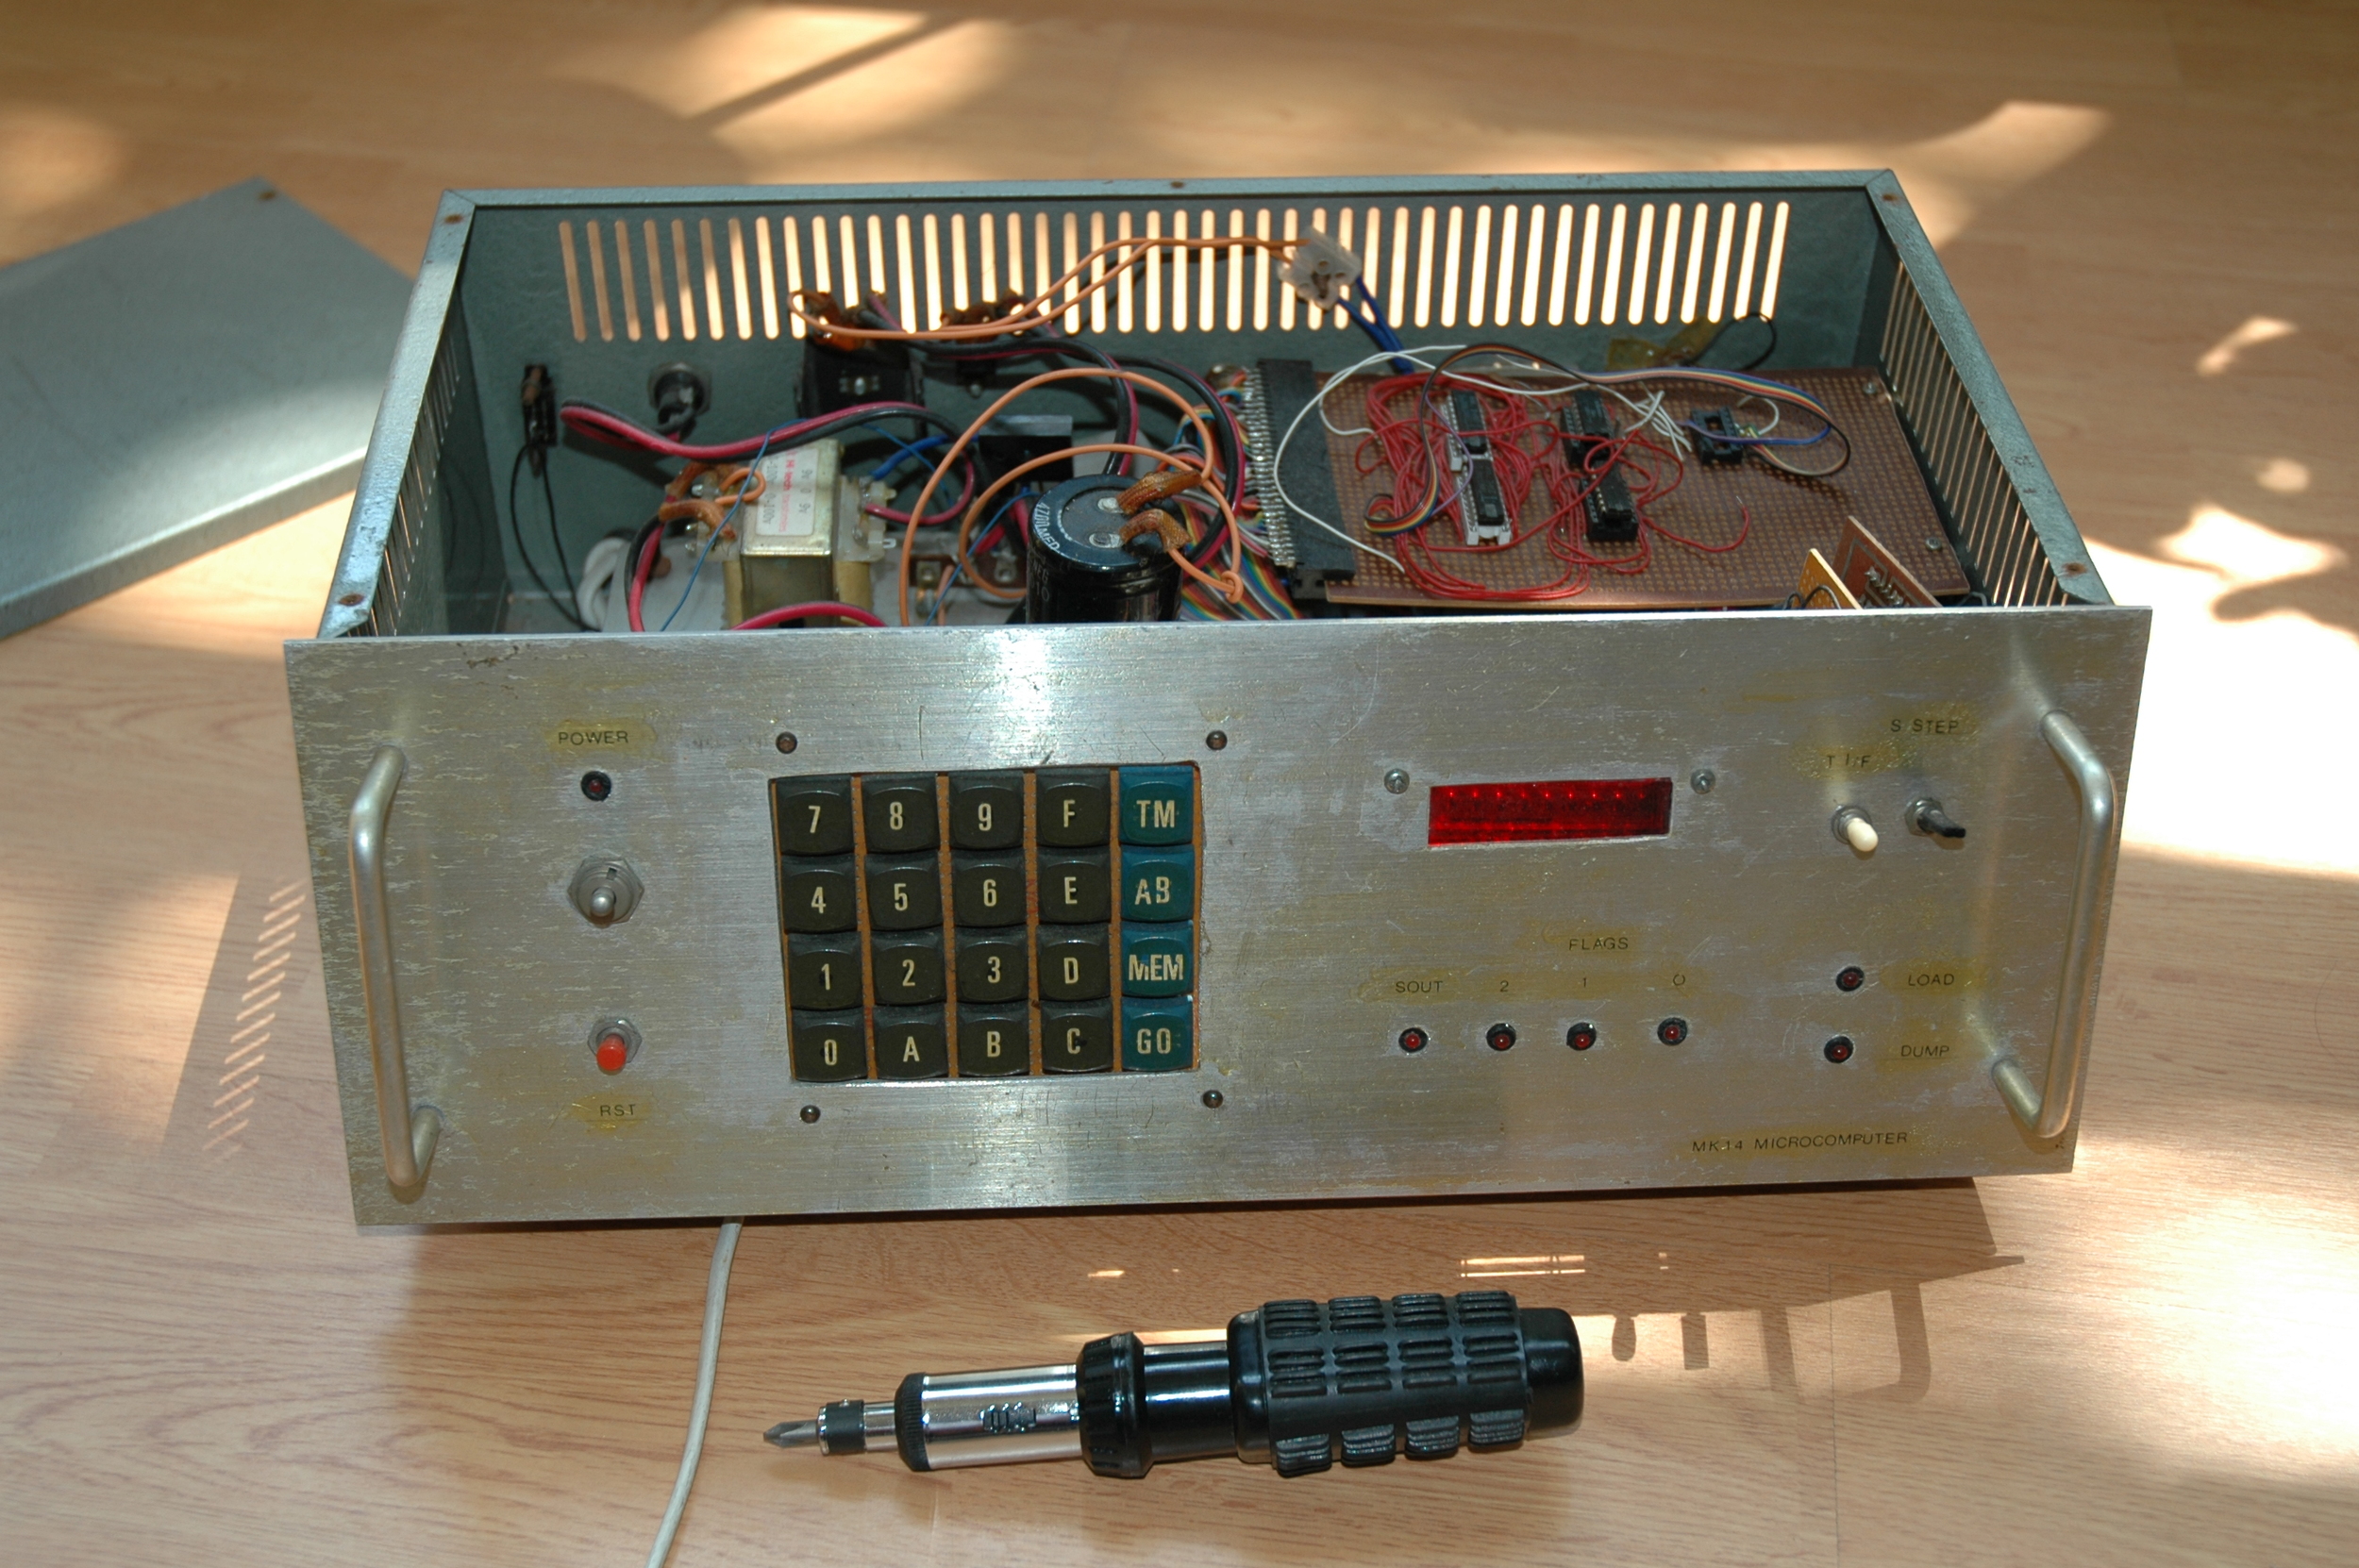
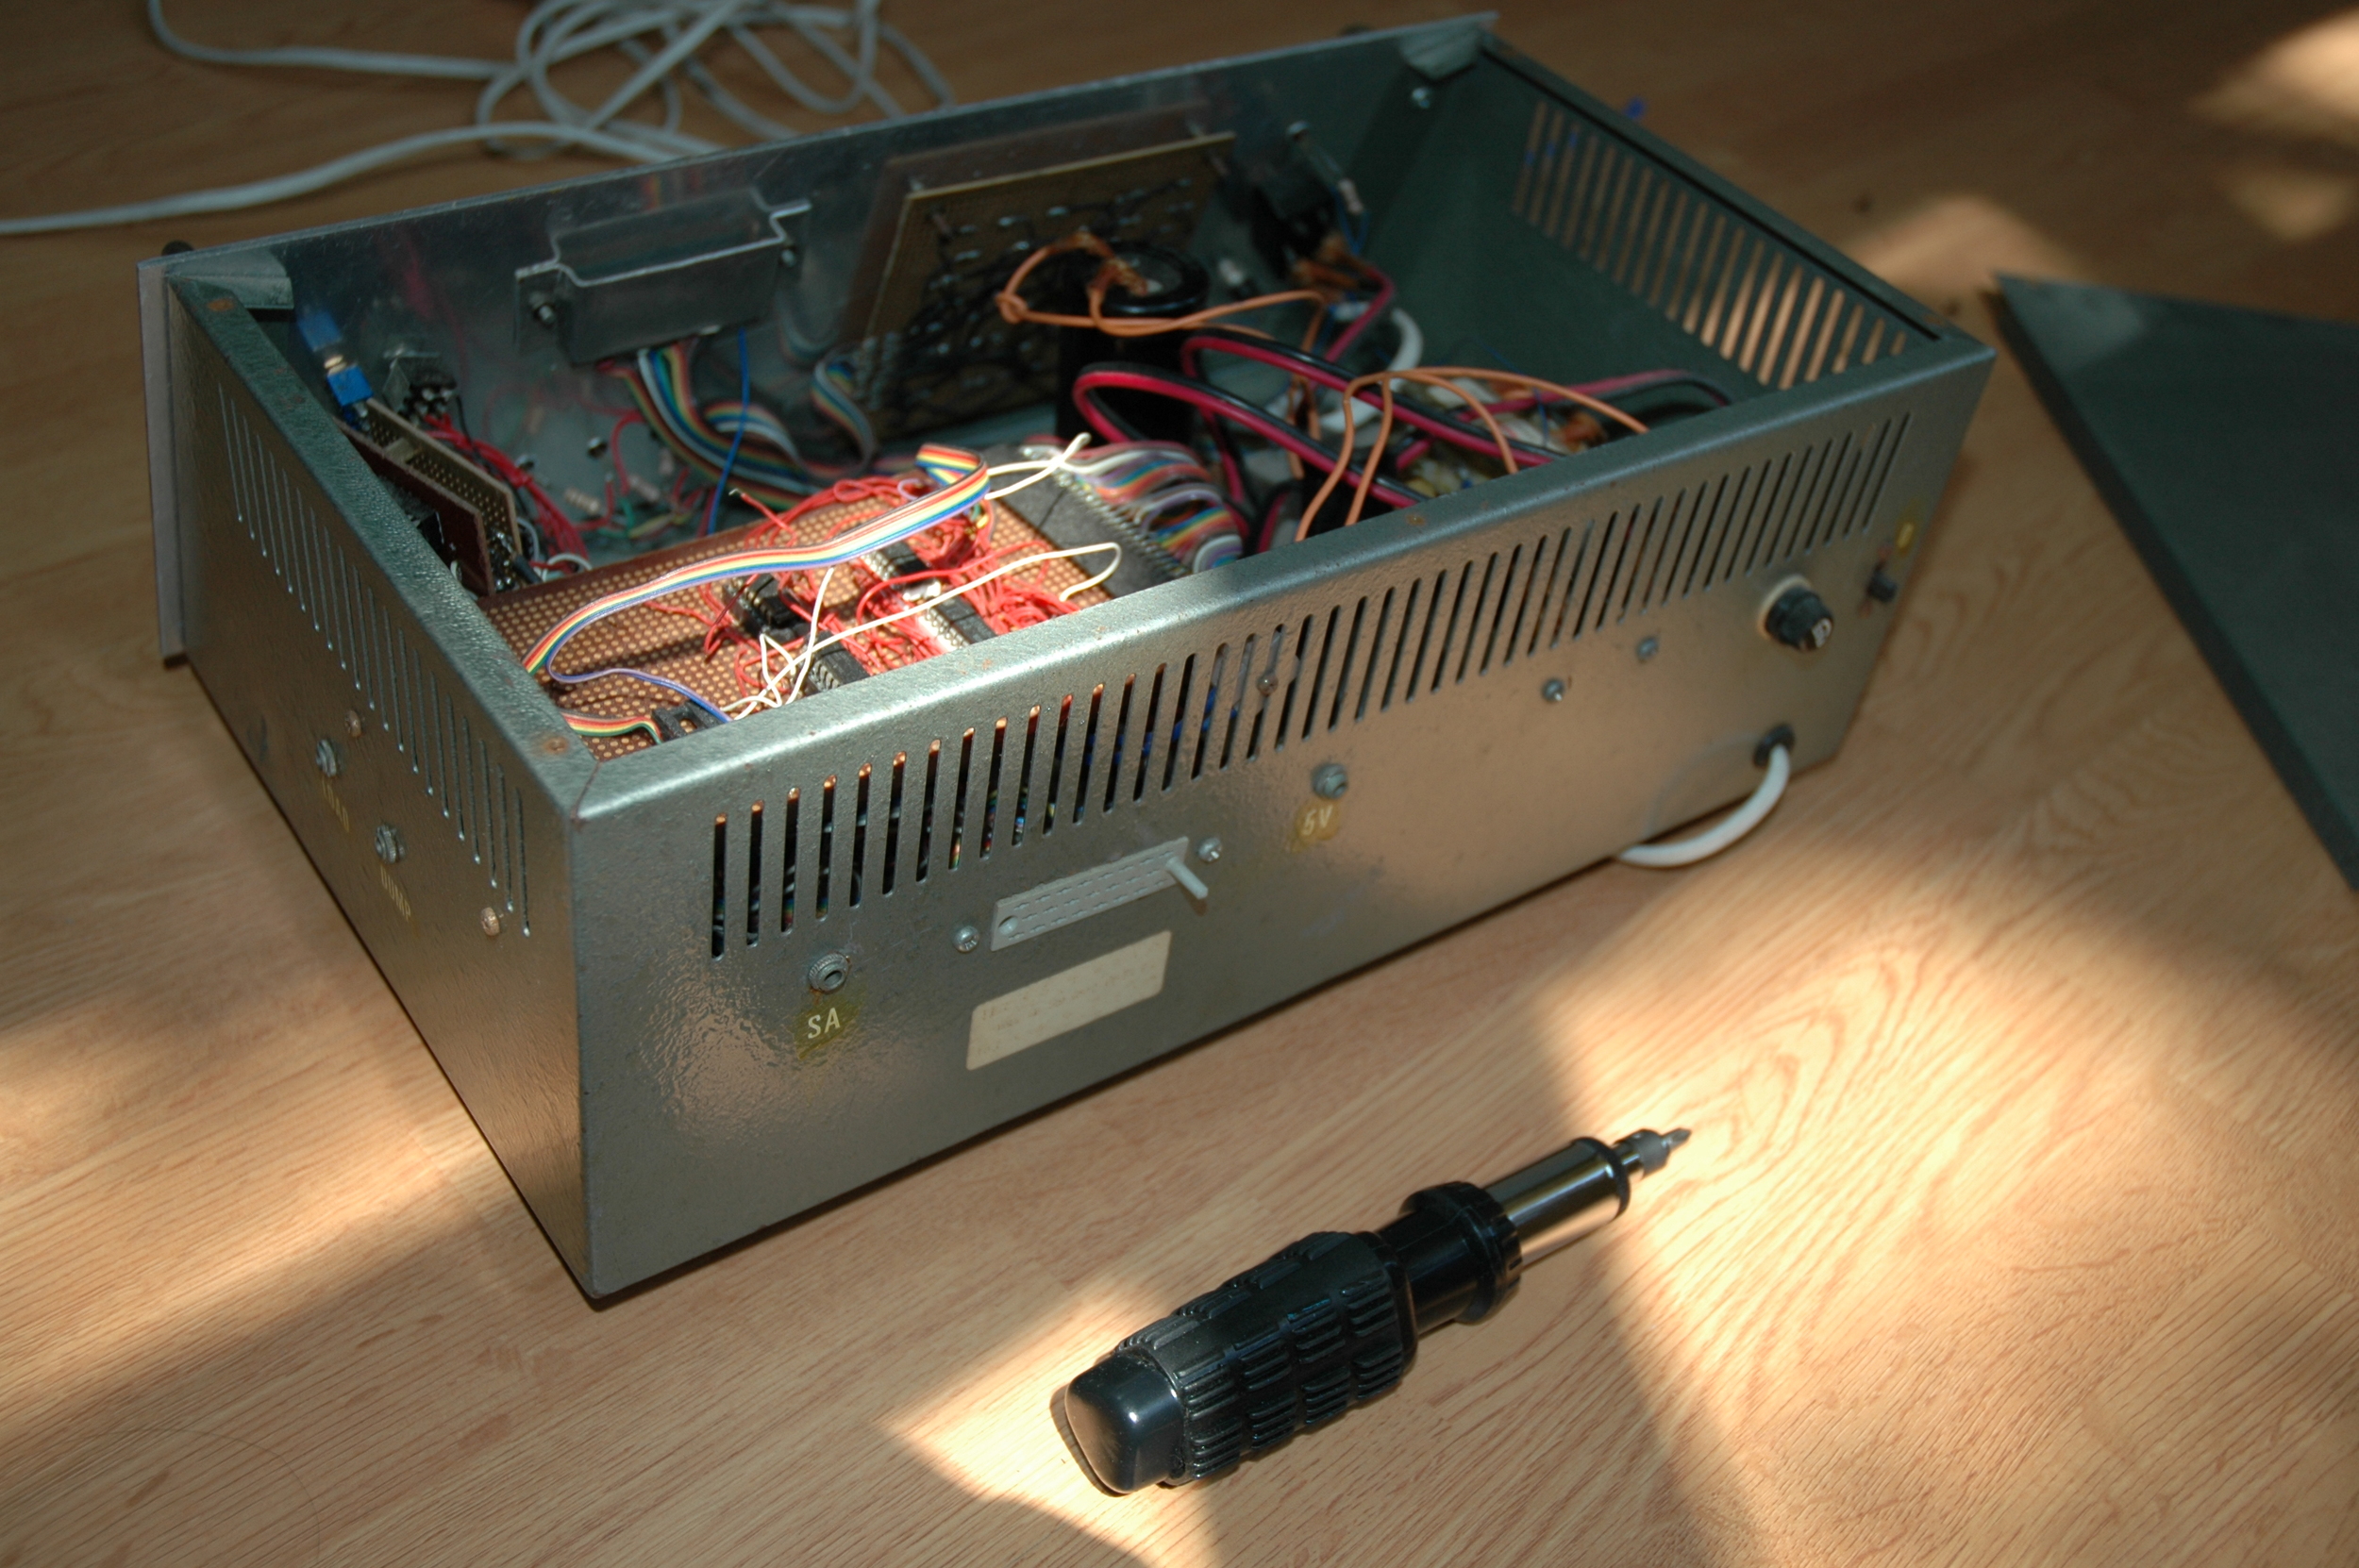
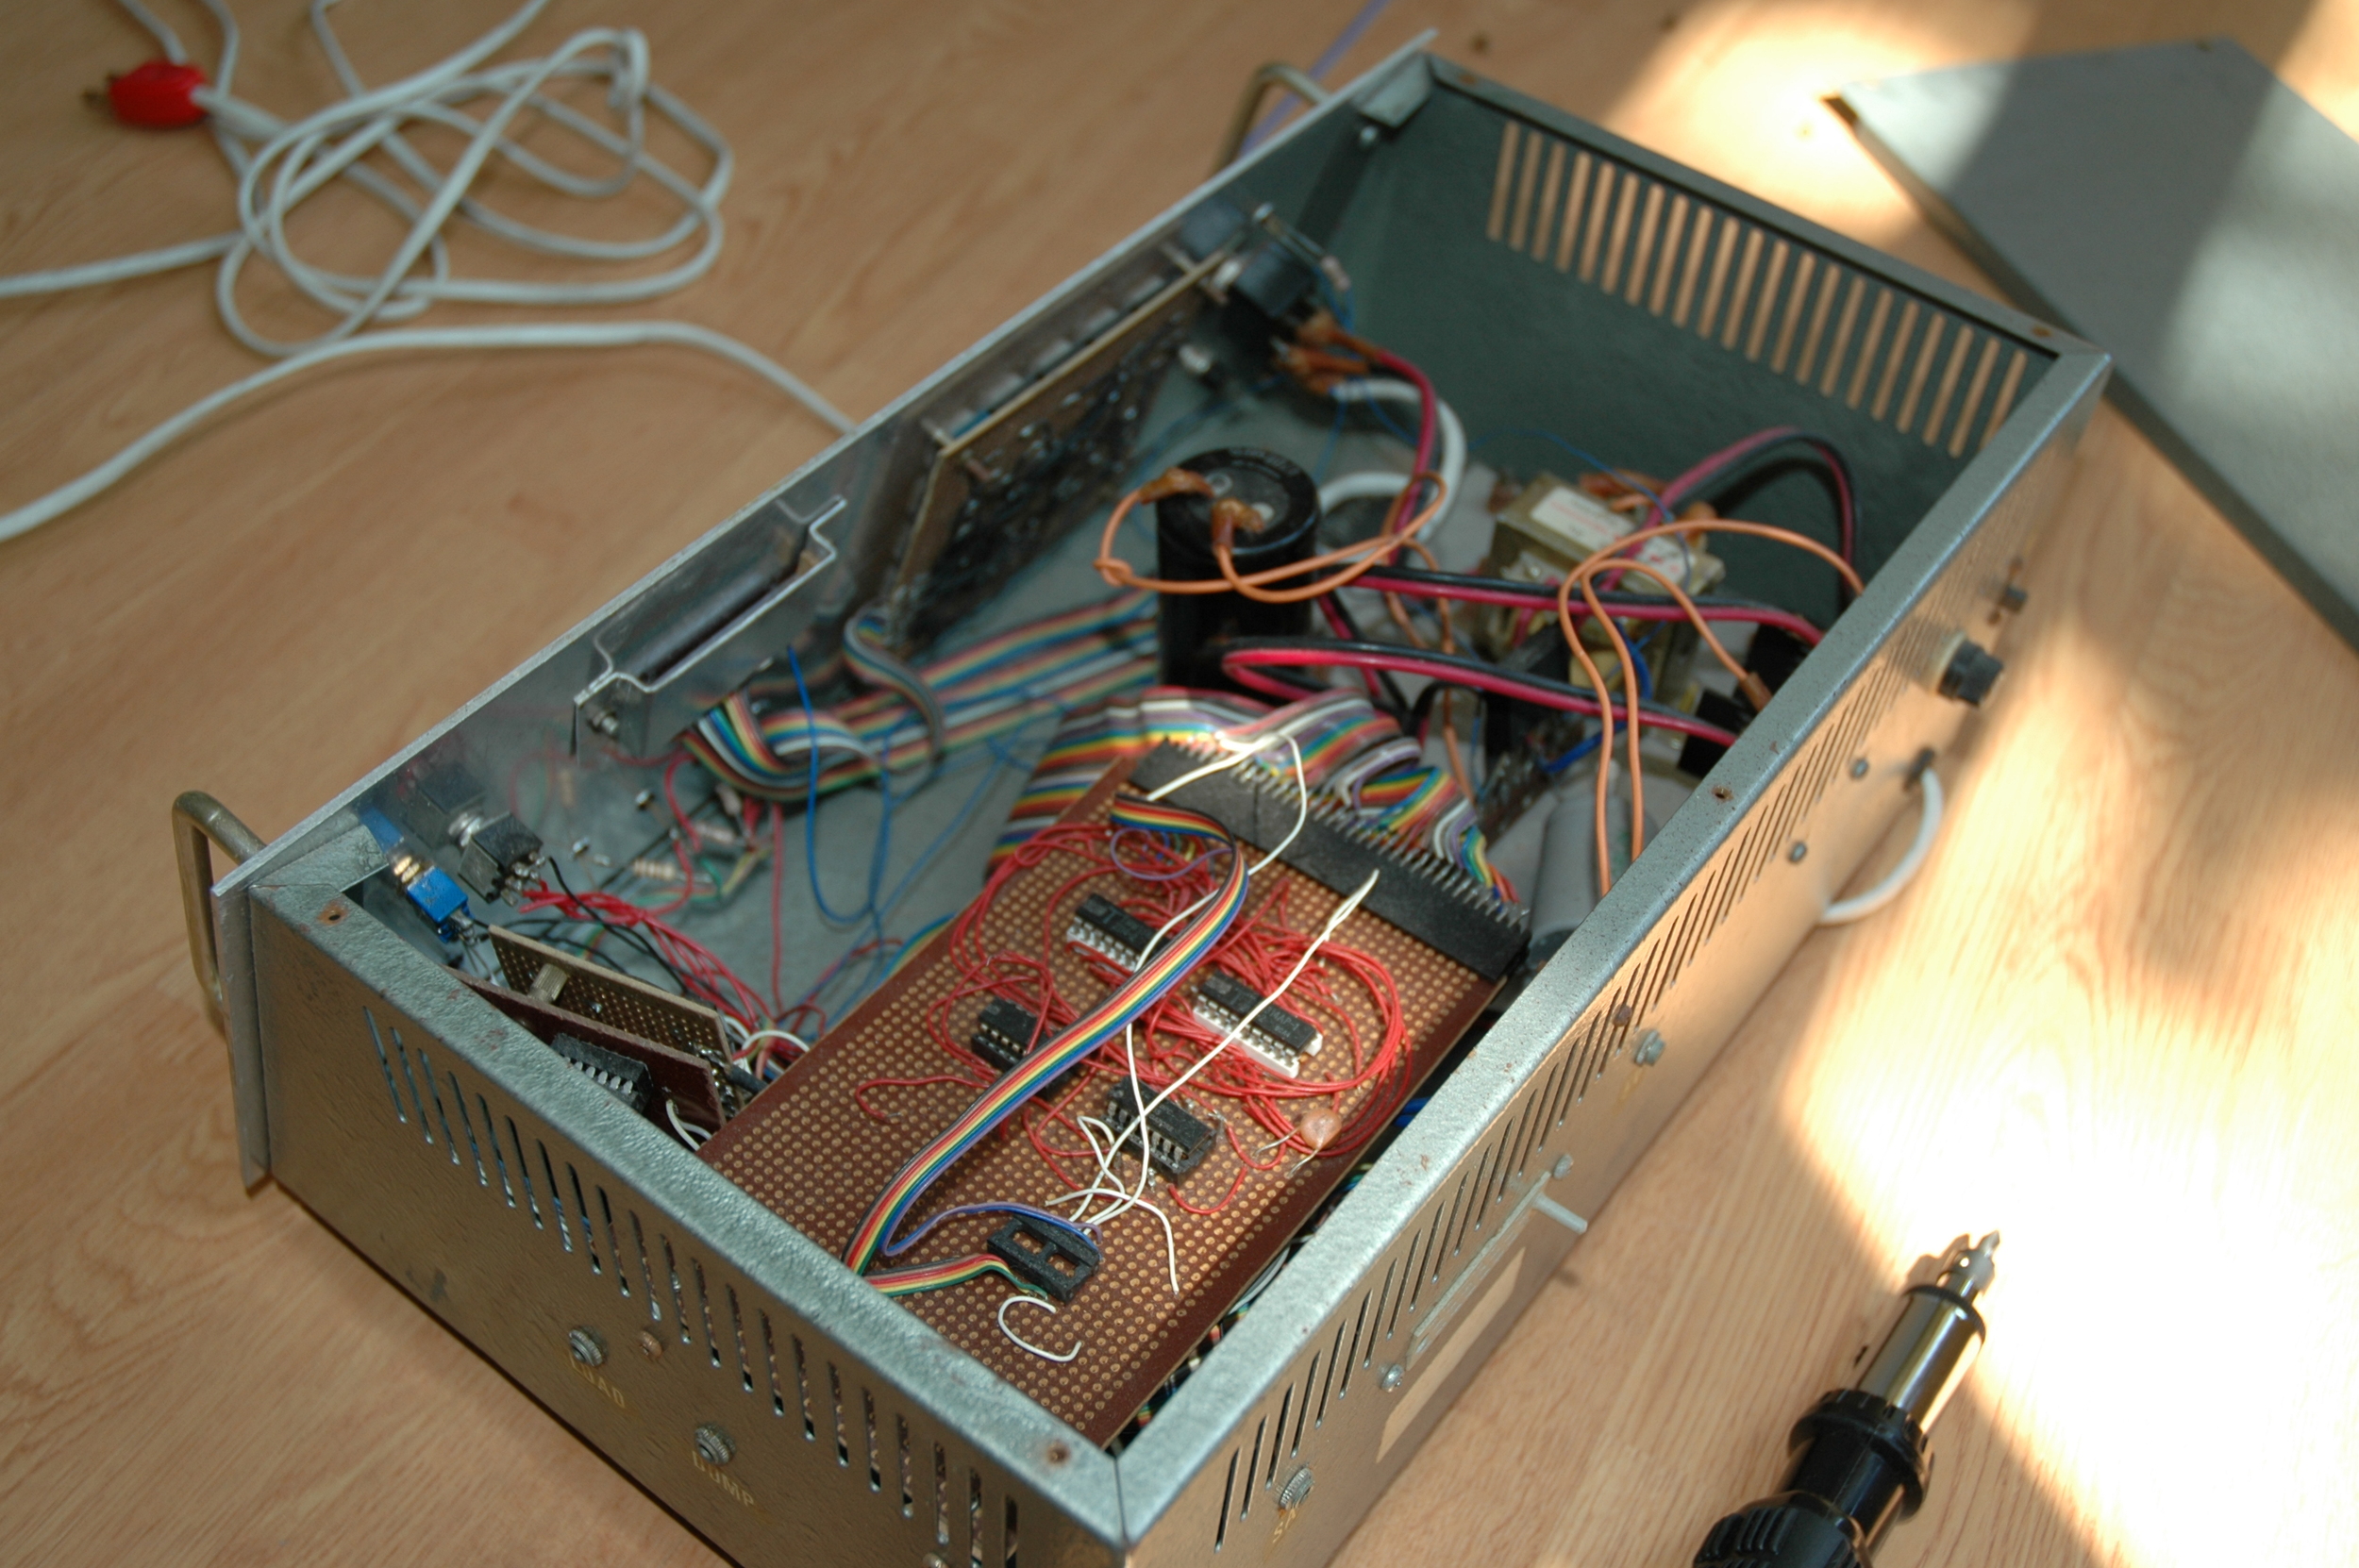
What makes this bitter sweet for me is that I am really into computer music. After I built my first "computer" when I was in high school, the first addition to it is a sound card. The computer is based on a SC/MP MK14 board. The "sound card" that I designed and built is based on the General Instrument AY-3-8910 chip.

Now years later, my kids can do the same with slightly more powerful hardware and software.

DIY Cable Tags

Start of a New Year. Time to get organized. How about labeling all the power cords and data cables under the desks? I have looked at many different cable tag products out there, but non of them are very good. Looking thru my parts drawer I realized that all I need is to tie a key tag to a cable using a cable tie. DIY Cable Tag

And we have a cheap and very usable cable tag!

Use on a Powercord

Cable ties and key tags are cheap and easy to find. Try Staples, Micro Center, or Amazon:

[AMAZONPRODUCT=B00006IBQ4]

[AMAZONPRODUCT=B002DNEFAI]

IKEA Tool Box Hack

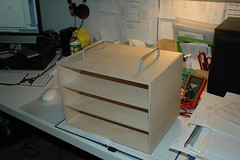
I need a toolbox to store my supplies and tools for building electronic circuitries. Something that looks good in a normal office setting. Why not another IKEA hack? I always wanted to try one of the FIRA mini chests. They are functional, but too plain looking. Since this tool box is for electronics, metal handles make sense to me. A quick search at IKEA found the cheapest handles, Kosing, 6 pieces for $1.99. Not bad. I have already figured out that I need to mount the handles alone the center line of the small drawers. Otherwise the back of the draw will hit the screw and stop the drawer from being pulled forward. One other thing that I did not anticipate is that the handle screws are too long. I had to add four #8 washers to the screw to make it fit. I put three at the bottom, one at the top.

Other than these two little things, it's pretty easy to do. To recap:

  1. before assembling the chest, measure the locations for the handles at the top plate. Make sure it lines up with the center line for the left (and right) mini chest.
  2. Drill hopes for the handle screws. Make sure they are right. I actually was off by 1/16 of an inch on one side. Luckily I can redo it by switching the top plate to the bottom.
  3. Assemble the chest, screw in the handles before installing the horizontal dividers.
  4. Done!

Some pictures to help explain:

D70_23371 D70_23368

D70_23372

D70_23373

Review Extech Digital Multimeter EX330

My DMM arrived today from Amazon. First surprise -- I came in a blister pack. The good nice is that it is an easy open blister pack. Remove the lone staple at the top and pull open the pack top to bottom. The bilingual (English/Spanish) user manual is tugged inside the backing paper sheet.

The meter comes with a temperature "probe" and a pair of test leads. The test leads are actually of good quality. Flexible lead. both ends of the tips are covered with a reusable plug. The unit ships with batteries installed. Since it is under a screw, I did not open the battery compartment to see what's inside. The meter itself sits inside a orange soft plastic "holster" which is more of a protective outer skin. I have to take the meter out of the "skin" to get to the back of the meter for the compartment. The "stand" is actually a hinged piece of hard plastic that is pivoted on the back of the "skin", not on the meter. It has only one "open" position, standing the meter at a 45 degrees angle. It seems to work well although not very stable.

The center function select dial works fairly well. It has a plastic click sound that is indicative of a not very high quality switch. Switching from OFF to other modes, it sometimes does not come on. I have to wiggle it a little or switch it back and forth between modes or back to OFF to make it work. I suspect after using for a while I can figure out exactly what is the issue. The five rubber push buttons at the top under the LCD area feels like typical calculator keys, but with a soft rubber coating.

The "MODE" key is use to select the actual function after using the dial to select a major function. For example, the diode test, continuity test, resistance and capacity tests are all under the same dial selection. You have to press the "Mode" switch and look at the LCD to switch between the diode, continuity modes.

The "RANGE" key is used to exit auto range. Auto range is on by default when you switch the DMM on. THe range key will turn the auto ranging mode off, taking the "Auto" display off the LCD. Once off, you use the "RANGE" key to step thru each range. However, to go back to auto range, you have to hold the "RANGE" button down for 2 seconds. It is not simply one of the range selection as you cycle thru the different ranges.

How does it perform? I cannot tell you !! I don't have anything to compare it to, but it seems to do all the basic measurements ok. I cannot say anything about it's accuracy. So, for fifty odd dollars, it's not a bad investment.

Electronics DIY basics -- Tools

After many years, I have decided to start doing DIY electronics again. Things have changed a great deal. Let me share my research here to save you some time if you are thinking about starting electronics DIY. What tools do you need, and what are some of the fun things you can do. But first, let me give you some background. Background

I am (was) a experience electronics circuit builder. I started when I was 11 or 12, building simple circuitry from electronic magazine. I built a micro-computer kit when I was in high school, sometimes hand wire (point-to-point) IC circuits together. I built an electronic recording keyboard as a CompSci thesis project from scratch. i.e. the operating system written in assembler, wire wrapped the entire system from discrete components interfacing with a 6800 microprocessor. Sound generation via a 890x sound generator chip. In other words, I spent months and probably thousands of dollars building something that you can now, 20 odd years later, buy from Target for $100. So I am skilled (stlll I hope) at soldering small PCB's in thru-hole mode, in reading schematics, and basic have understanding of basic electronic systems.

What I want to do now is to work in two different areas. Building audio components like headphone amplifiers and related devices, and build micro contoller based toys and devices, using the Arduino platform as a starting point. So my needs are mostly to building low power (except when I get to Tube amps) small scale electronics.

So, on to the tools:

Soldering Station

I am looking, borrowing a term from the camera world, for a "prosumer" level product. While most people will agree that a $30 soldering iron will do for basic soldering, a nice temperature adjustable unit will give me more flexibility in working with different things. For example soldering surface mount component may need a lower temperature, while soldering connectors and cables may need a higher temperature. A good soldering station also have faster heat-up and recover time, to make the work faster and more enjoyable. Finally, a good iron is lighter, with a more flexible cord, allowing for a more comfortable time.

There are two main brands out there -- Hakko, a Japanese brand, and Weller, an American brand owned by Cooper Hand Tools. Both brands offer two stations that fit the requirement. An analog dialed control station, and a dialed control with digital display station. For Hakko they are The Hakko 936 and the Hakko 937. For Weller they are the WESD51 and WES51.

The Hakko in general have better specs -- the temperature controls are +/- 1.8F, whereas the Wellers are +/- 9F. But with an analog dial to set the temperature, isn't the error rate too small to matter compare to the dial settings? Unless you use the digital display version. However, the price points goes like this, from cheapest to the most expensive: Hakko analog ~$80, Weller Analog ~$95, Weller Digital ~$130, Hakko Digital ~$200. Since there is no point in getting the Hakko, with the better temperature control, unless it is with a digital display, I decided to go with the Weller digital instead. It was around $130 if you search around online. Otherwise I would have bought the Hakko analog. I actually like the Hakko better, but the Weller seems to be more available in general here in the US.

Solder

I did not know this is such a complicated subject. When I was building stuff in school, I used whatever was in my Dad's tool box. Come to think of it, it must have been very old solder. I also had a tin of Rosin of some sort that I use. That's about it. Now I open a catalog and read all the tutorials, there are way too many things to choose from. RA, RMA, what core size, what solder size, 60/40 or 63/37 alloy, lead free, etc etc. I ended up with the standard Kester "44" 63/37 21 AWG .031 inch diameter 1 pound solder, Digikey part number KE1102-ND. I do not know yet how much flux cleaning I have to do right now, but I'll find out after the first project.

Desoldering Wick

I did not think I need this. I do. First soldering session -- soldering a female header on the protoshield. Got it a little off sided. Really could have used some desoldering wick. Instead I had to use the soldering tip to pull bits of solder off at a time trick. Not good for electronic components (too much heating).

Digital Multimeter (DMM)

Choosing a DMM is much harder. The "prosumer" version would be something from the US company Fluke. They are built well, with good feature, but very expensive. The basic model, the 115, will cost about $150. Then it goes up to the 177 model costing ~$220. The more professional model, the 77IV (version four, of a classic) cost close to $300.

Meanwhile, the Asian manufacturers have units as cheap as a few dollars, seriously. The big brand is Mastech which makes a lot of models, and also OEM for other companies. So you will see the same thing in sometimes different colors and names, but the model numbers will be similar. Another big brand is Extech. Choosing one of these cheap DMM is difficult because there are so many of them at every price point. The cheaper ones all seems to be of less quality in the physical sense. You may have problem with the buttons, the dial, etc. Seems like most of the $50 - $100 Asian unit will be adequate.

I couldn't bring myself to spending $200 on a Fluke DMM. I ended up getting an Extech EX330 for about $54. It has all the basic functions. The one "high end" feature that it does not have is "True RMS" measurements for AC.

Hand Tools -- wire cutter and pliers

There are too many to choose from. I ended up just going to Home Depot and picked up a $10 hobby tool set, a pair of crescent cutter and plier. It is small and works pretty well.

Hook Up Wires

References

I learnt a lot from these useful and popular references on these topic: